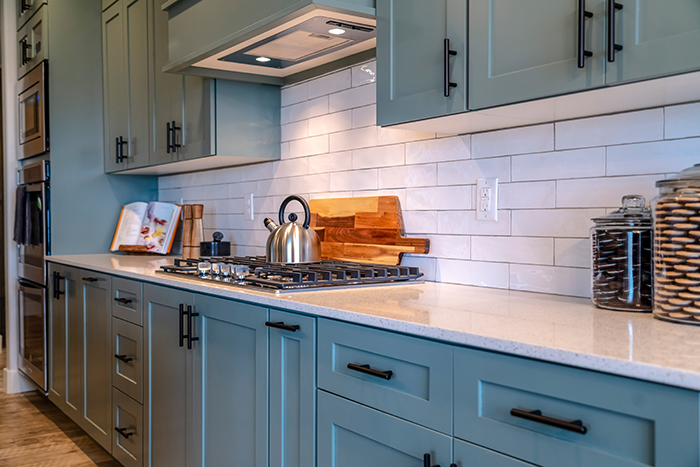
How to Paint Melamine
Are you looking at your melamine cabinet doors, wondering how to breathe new life into your kitchen without breaking the bank or making major changes? Luckily for you, you can paint melamine in five steps!

Step 1: Dismantling
Removing the doors and placing them on easels or stands will greatly facilitate your work. You must also remove the handles and hinges. To save time and avoid being left with a real puzzle to solve at the end of your work, be sure to carefully number or label the doors and hinges. Once they're removed, they will all look the same. To number them, you can use a matte finish tape that can be written on.
Step 2: Cleaning
With a powerful degreaser, thoroughly clean all surfaces to be painted. A small brush or sponge will facilitate this task and the wearing of gloves is highly recommended. If you're not changing the handles, clean them too.
Step 3: Sanding
Lightly sand the melamine surface to remove any imperfections. A small bump may not look that bad now, but once painted it will certainly stand out. Because melamine is not very porous, uniform sanding is required to ensure that the paint and primer adhere. If you change the handles, take advantage of this step to plug any holes that will no longer be used.
Step 4: Painting
An oil primer is essential when painting melamine. Use a roller for smooth surfaces. Let dry 24 hours and add an additional coat if necessary.
Then apply two generous coats of water-based paint or chalk paint, using a roller, and starting from the centre of the surface. This prevents drips caused by an overfilled roller. Allow the paint to dry well between each application. Depending on the colour chosen, a third coat may be necessary.
Finish with a matte, semi-gloss or gloss varnish, depending on the desired effect. For a durable finish, three coats are recommended. If using chalk paint, a wax from the same manufacturer should be used instead of the varnish.
Step 5: Installation
The only thing left to do is re-install the doors according to their numbering and adjust the hinges so that the doors are straight. You now have a whole new kitchen at a low price, not to mention the pride of having carried out this project yourself!
Are you passionate about real estate? Subscribe to the Centris.ca newsletter now.
See also:
7 colour trends we’ll see everywhere in 2023
These kitchen floors will make you want to switch up yours now!
Kitchen trends to adopt in 2023
 The Largest Number of Homes for Sale


